User’s Guide For the LanguageTool Plugin For Trados Studio
Setting Up the Plugin In a New Way
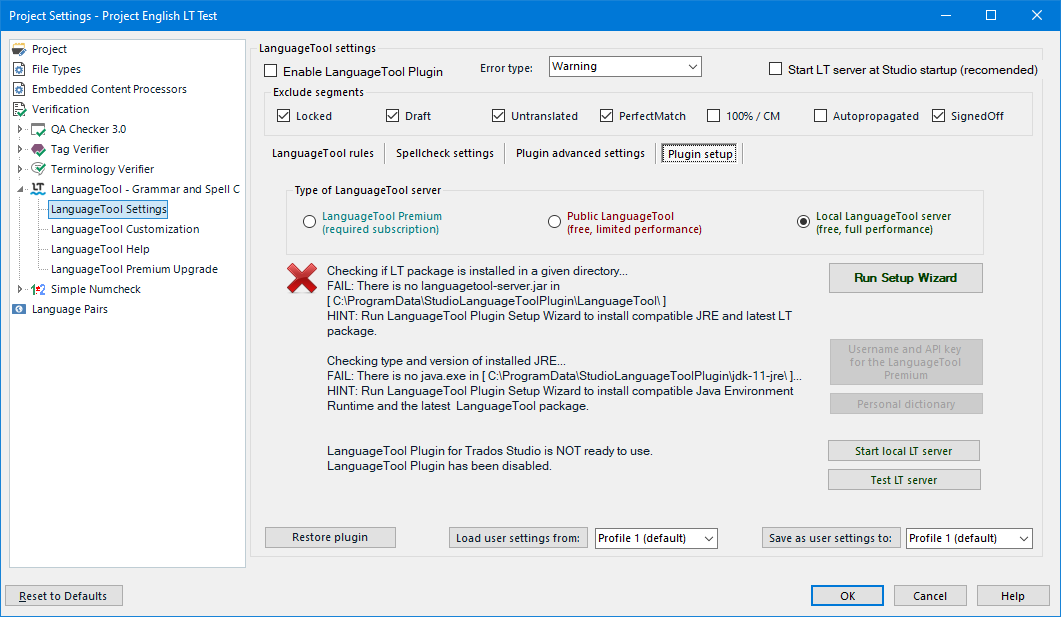
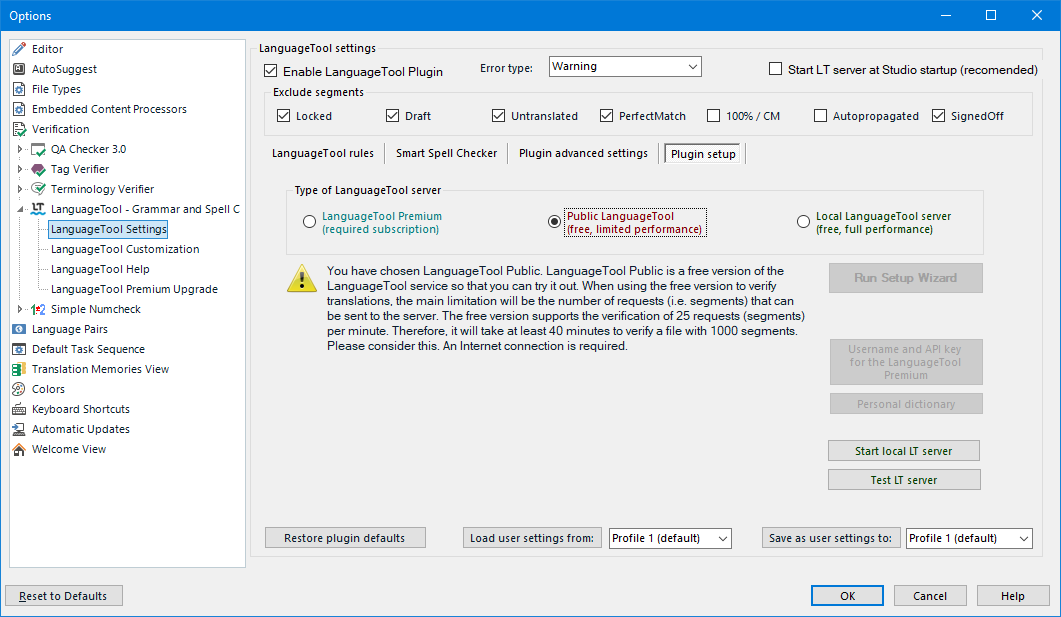
The first time you display the plugin settings, the Plugin Setup tab will open, where you can choose which LanguageTool server you want to use. As so far, you have three possible scenarios: Premium, Public and Local. At this point, the plugin will be disabled (the Enable LanguageTool Plugin checkbox will be unchecked), and the message area will display the status of the setup and hints on how to proceed.


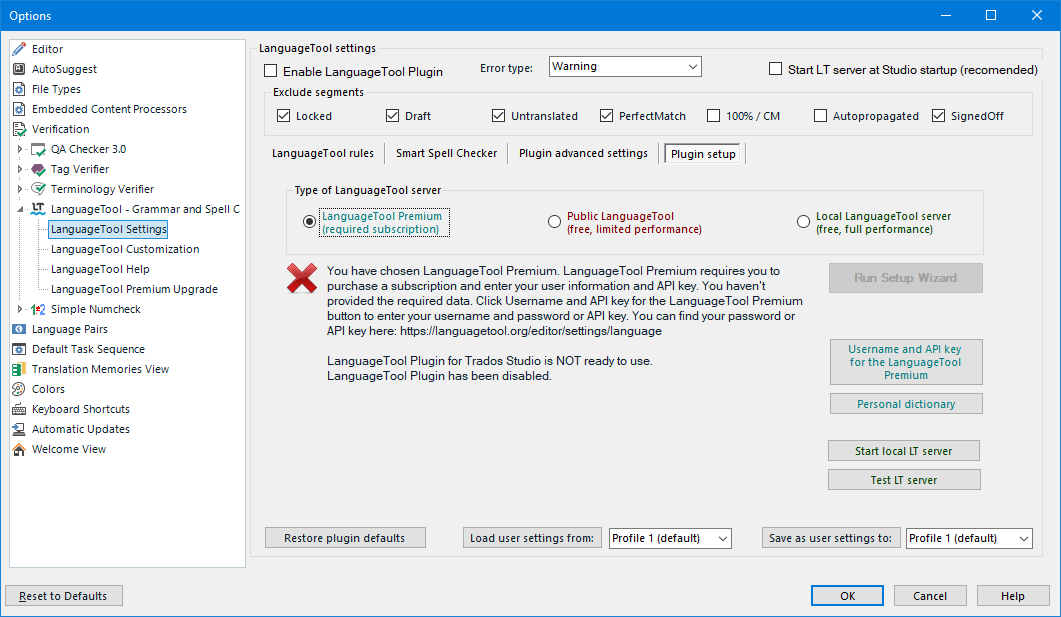
Premium
The Premium service is available in the cloud and requires a subscription. If you wish to use the Premium service, you must enter your username and API key. Click the Username and API key for the LanguageTool Premium button to enter credentials.
Local
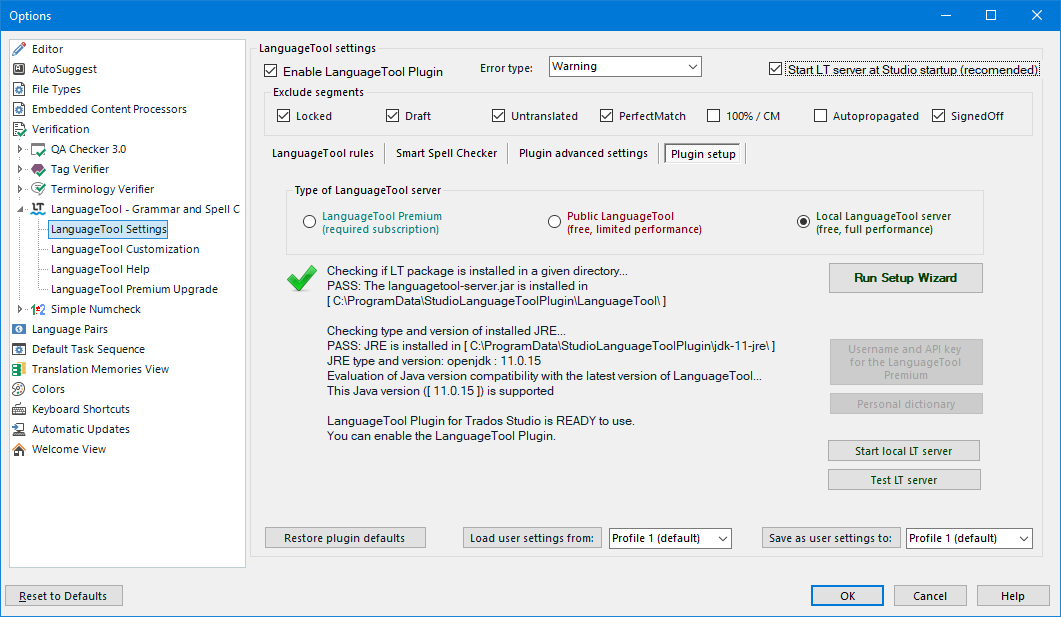
From version 4.x.x.x onwards, the plugin will, by default, use its own version of the JRE environment and the LanguageTool package. Both components are installed in the c:\Users\[USER]\AppData\Local\StudioLanguageToolPlugin. Access to the c:\Users\[USER]\AppData\Local directory does not require elevated privileges, but the directory is hidden by default. “[USER]” is a specific name of user in Windows system.
When it comes to Java, I have opted for the Eclipse Temurin OpenJDK JRE from Adoptium. Adoptium is a reliable and proven group developing a free and open-source Java environment. Its members are Microsoft and RedHat, among others. Eclipse Temurin OpenJDK JRE from Adoptium can be used free of charge also for commercial use, thus avoiding the doubts and legal ambiguities of licensing Oracle’s JRE, which is now a paid environment.
The plugin now has its own Setup Wizard module. Click the Run Setup Wizard button to download and unzip the LT package and JRE environment.
Once the components are successfully set up, and the Setup Wizard window is closed, the message area will display the setup status again. Then the plugin will be enabled (the Enabled LanguageTool Plugin checkbox will be checked), and the Start LT server at Studio startup checkbox will be checked.
